Nginx for Front-end Developers - Beyond the Basics
Nginx for Front-end Developers - Beyond the Basics
This article is a follow up of Nginx for Front-end Developers .Now, we will see Nginx for Front-end Developers which is beyond the basics
In the previous article, we set up a basic nginx configuration for a web application. In this article, we will see how we can setup some important features of nginx - Proxy Pass which is Reverse Proxy .
What is Proxy ?
Before going into the topic of reverse proxy, we will see what proxy means. proxy is nothing but handling the request and forwarding it to the appropriate source/destination back and forth
there are two way to proxy the server, Forward Proxy and Reverse Proxy
Forward Proxy Server
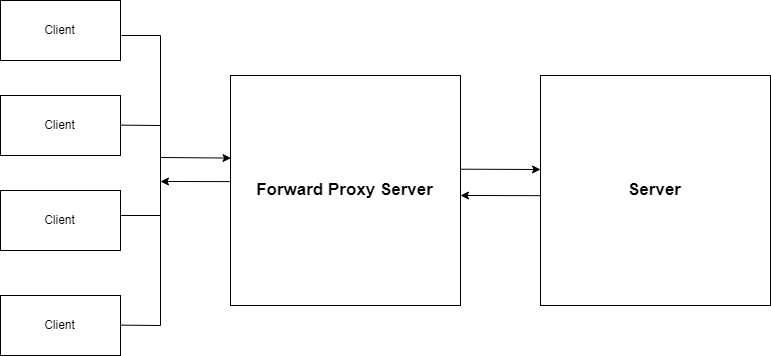
Forward proxy provides proxy services to client or group of clients. when a client request a server. forward proxy server takes the request and sends it to the app server.
From the point of app server, it is the proxy server that requests a file. it does not know which client request the files. it is the advantage of forward proxy server.
As you can see, the proxy can serve as a single point of access and control, making it easier for you to enforce security policies
Reverse Proxy Server
Reverse proxy is the exact opposite of forward proxy. while a forward proxy proxies in behalf of clients (or requesting hosts), a reverse proxy proxies in behalf of servers. A reverse proxy accepts requests from external clients on behalf of servers stationed behind it
From the client side, it is the reverse proxy that serves the file. it does not know which server serves the file.
Reverse Proxy Setup in Nginx
we will see how we can setup a proxy pass which is a reverse proxy in nginx.
Above all, make sure nginx installed on your machine . To Learn how to install nginx , Nginx Installation
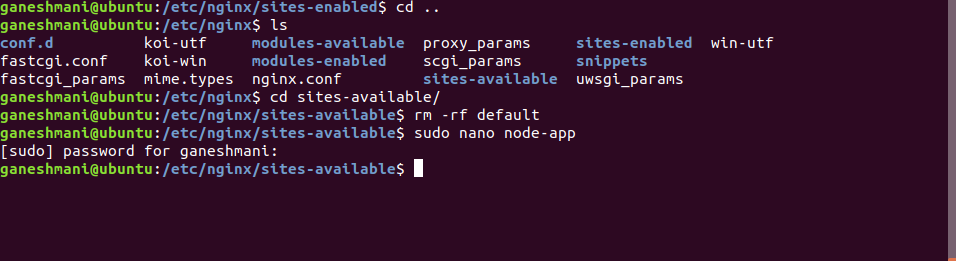
After that, you can find the nginx configuration in the following directory. there are two directories important for nginx configuration.
-
sites-available - folder is for storing all of your vhost configurations, whether or not they’re currently enabled.
-
sites-enabled - folder contains symlinks to files in the sites-available folder. This allows you to selectively disable vhosts by removing the symlink.
-

we will be deploying a node.js application and proxy pass the request to that application which has the speicific port.
Complete Source Code : Nginx Demo
Firstly, we need to run the application without nginx (proxy pass) and then we will see how we can run the application with nginx(where we don’t need to mention the PORT everytime)
Download the source code of the application and run in it local with the following command.
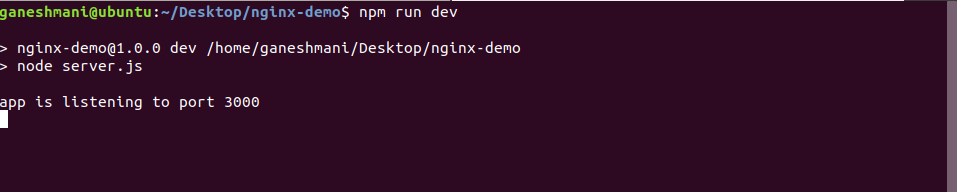
Meanwhile, if you run the http://localhost:3000 in the browser .you will see the application running successfully.
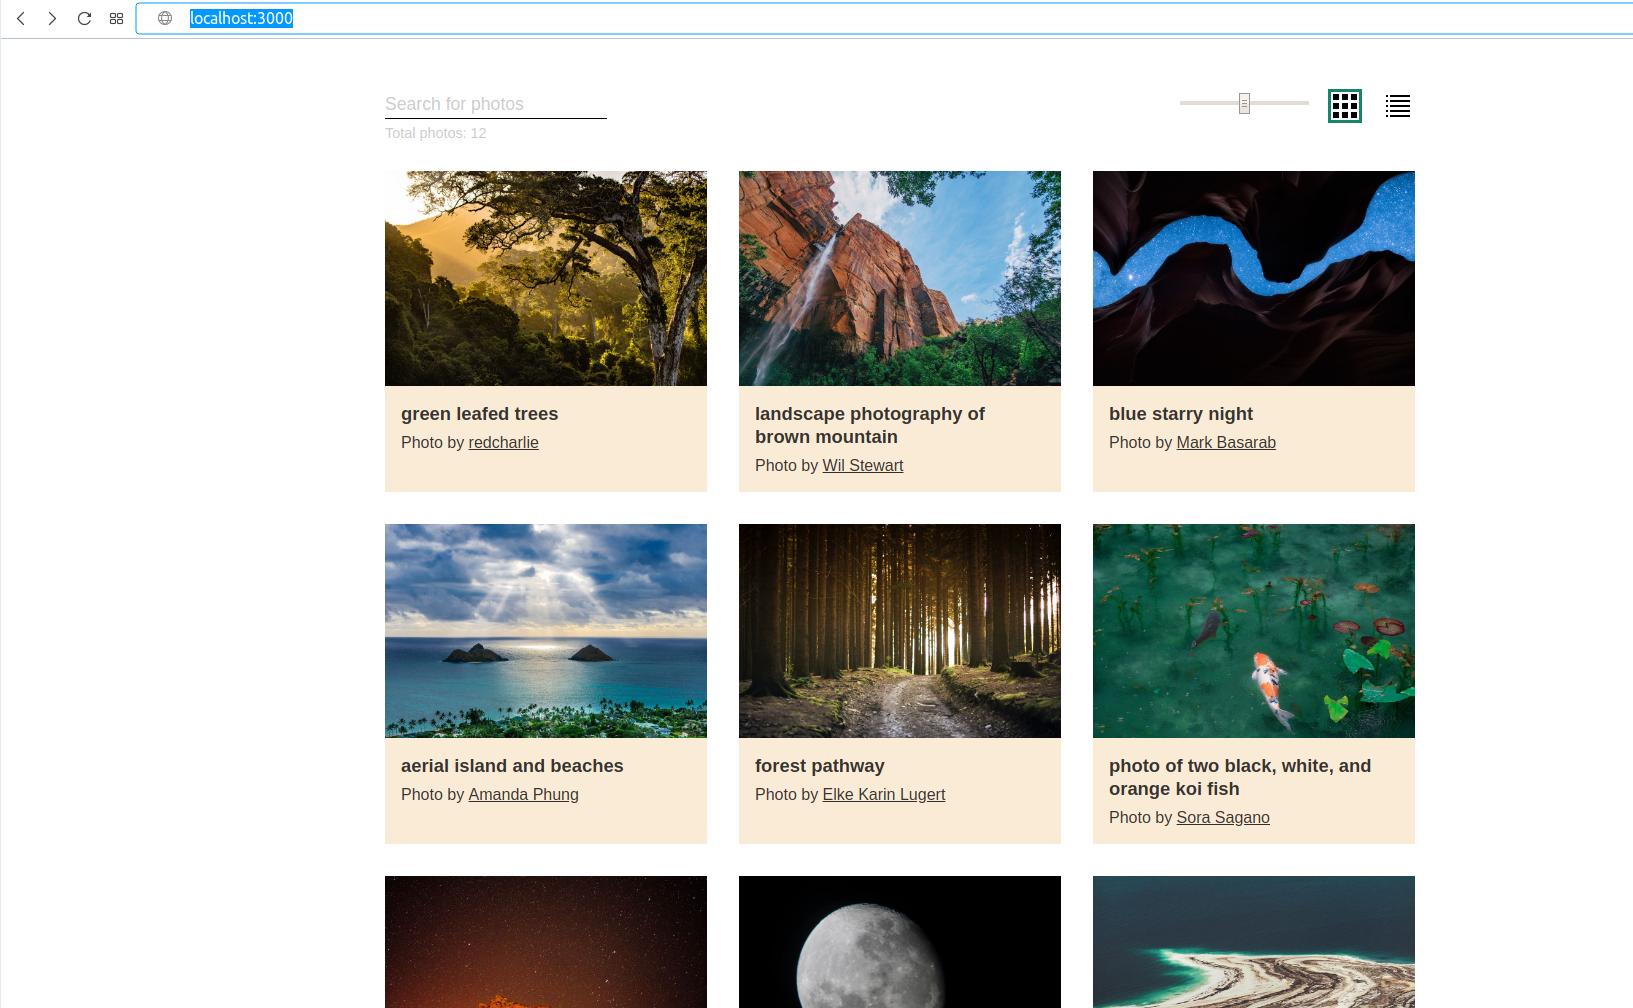
The application is now running successfully. Now, you need to configure the nginx which makes the application to run without mentioning the port(Proxy Pass)
Mainly, we need to add the application configuration in sites-available and symlink to sites-enabled
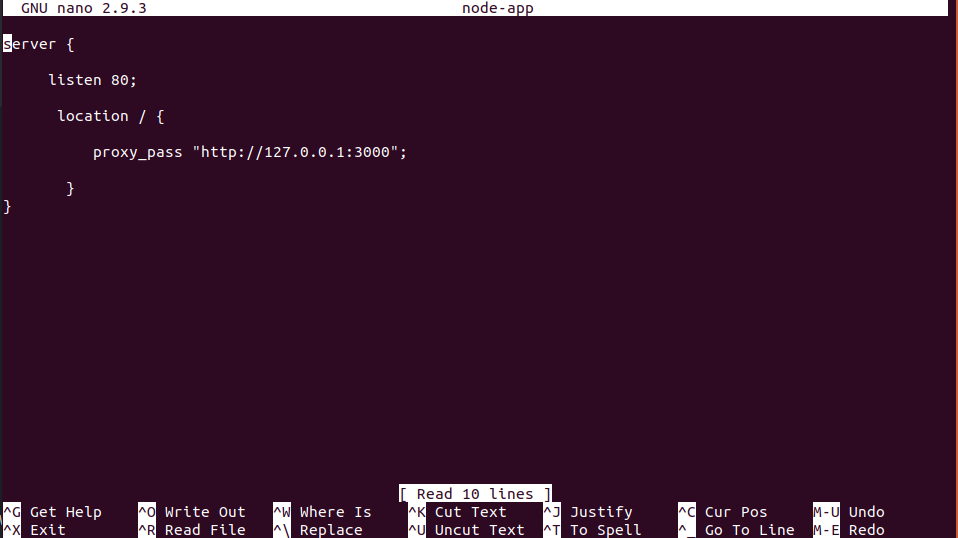
In the node-app configuration file, add the following code
server {

     listen 80;

      location / {

          proxy_pass "http://127.0.0.1:3000";

       }
}
After that, run the following command in the terminal
$ sudo ln -s /etc/nginx/sites-available/node-app /etc/nginx/sites-enabled/

After that, you need to start the nginx service. run the following command to start the server.
$ sudo /etc/init.d/nginx start
Finally, you can run the application in http://localhost .. Yayy!!!!

In the next article, we will see how to implement the Load Balancing in Nginx. until then, Happy Coding!!!
To Read Part One, Nginx for Front-end Developers